

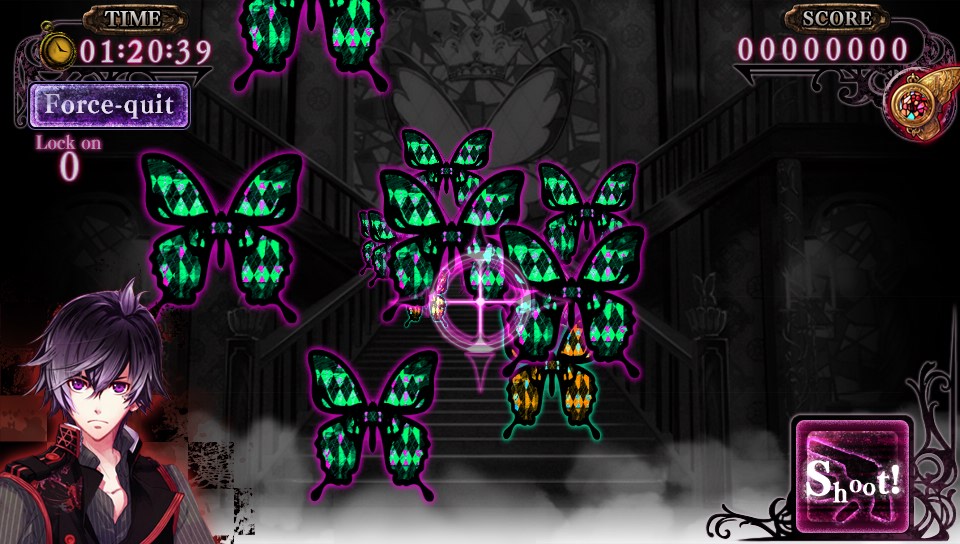
An otome is a story-based video game originally targeting women and where one of the goals is to develop a romantic relationship between the female player character and one of several traditionally male characters. This genre is presented mainly as a visual novel in which the interactions take place when the player has to choose an answer among several that are presented and this series of decisions results in different endings. However, this mechanic requires more actions than simply choosing answers, and some otomes add additional elements to offer more fun to the player.
All the above brings as a consequence not only thinking about a good story, beautiful landscapes and charismatic characters to achieve a good otome but also, it’s necessary to design intuitive and attractive interfaces that make the gaming experience more pleasant.
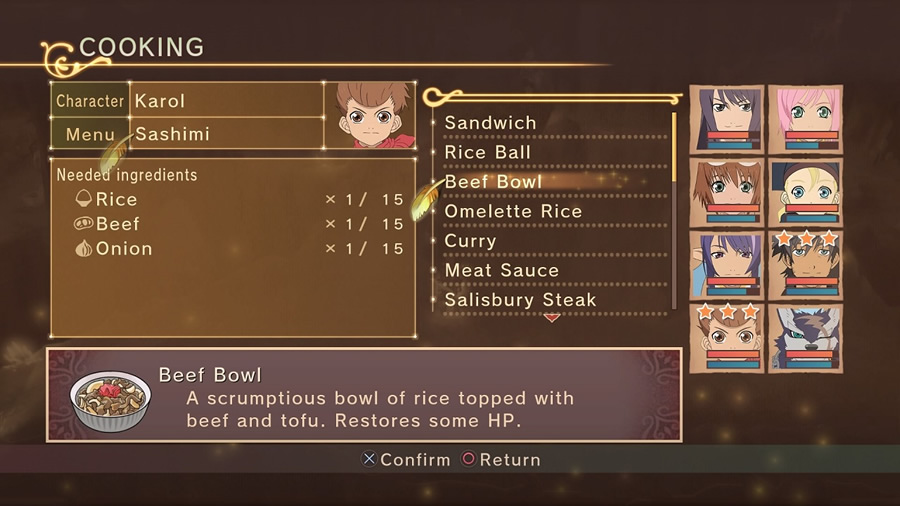
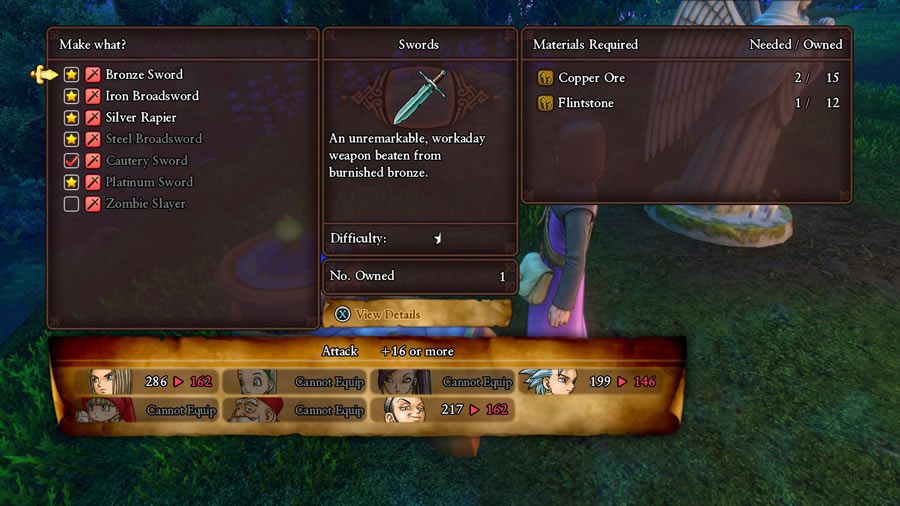
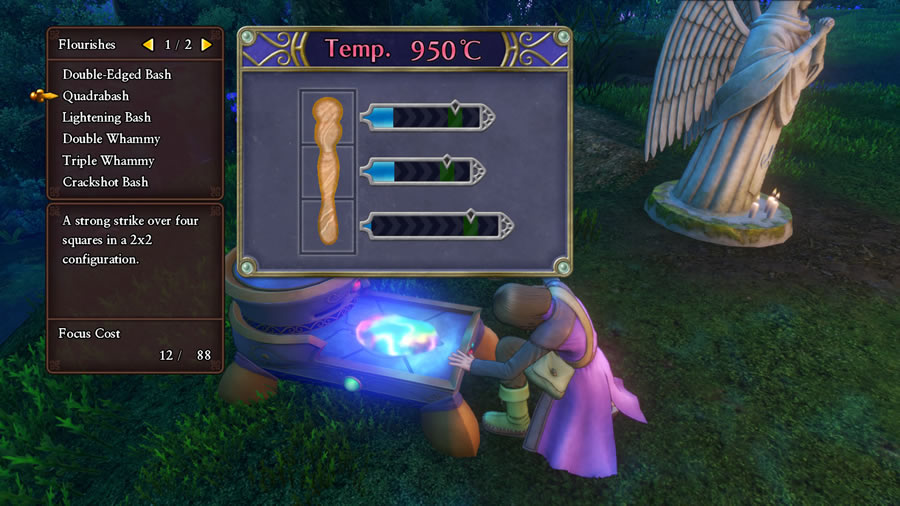
It’s true that depending on the video game, the interfaces that must be made and how they must be designed may vary, nevertheless, it’s possible to group games according to the logic that they follow in the composition of their interfaces. For example, although most of the RPGs have a window to show the status of the characters that includes HP, MP, equipment, among other features, only a group of them manages an interface to cook as in the case of “Adventure Bar Story” or the series “Tales of”. Also, there are others like “Dragon Quest XI” and “Vagrant Story” that need one to forge. So, this is how one can create groups of games based on the interfaces they need.
The same happens with otomes and, for this reason, this post will present an analysis of the general interfaces of a set of them that handle a similar menu and interactions and that were developed by Otomate or Idea Factory. So, let’s start!!!
THE FIRST SCREEN: THE TITLE
The title screen is one of the first to be presented to the player. As an unspoken graphic rule, this screen should contain the game logo to maintain context. Along with this, there are two essential options: one to begin the game, generally called “Start” or “New game”; and another, normally under the name of “Load” or “Continue”, to keep playing from a saved point. This latter needs an interface to allow to choose the point where one wants to continue playing, considering that it’s common to create more than one saved file. Then, what the otomes do is show a grid with numbered blocks that contain the creation date and time, the text that was seen on the screen at the moment the game was saved, and sometimes the drawing of the character’s face on the route being played. It’s good to empathize that this data helps to remember where in the game each saved slot is located because it’s possible that there are many or that it has been a long time since that otome was played.


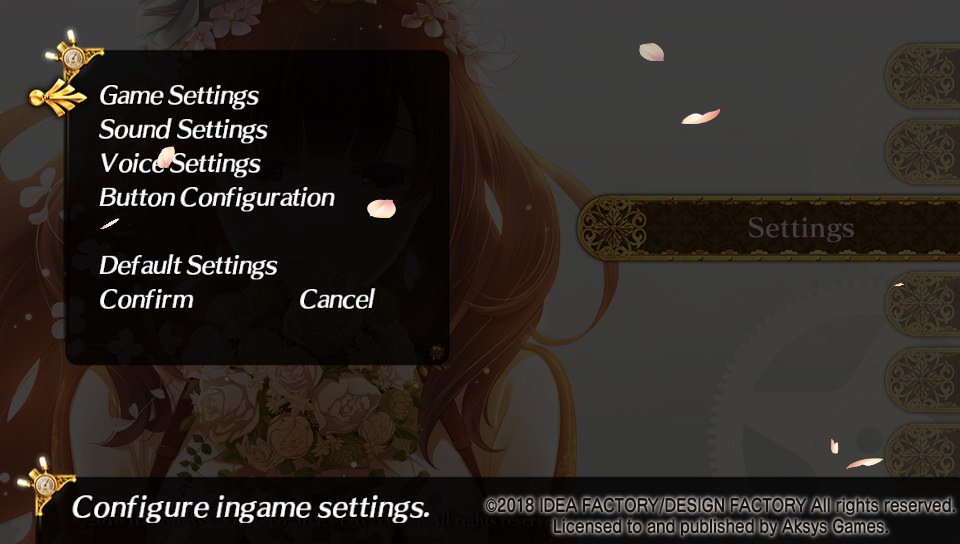
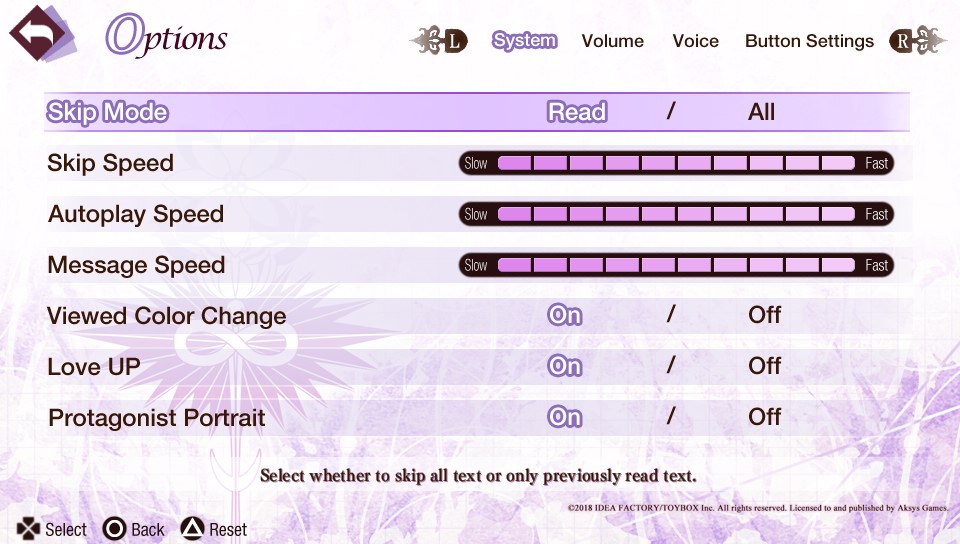
Continuing with the concept of essential options, the last one that is always present is the one known as “Options” or “Settings” that permits to configure the game according to the preferences and needs of the player. Seeing that the adjustments can be applied to different elements, the interface that is shown when selecting this option is divided into categories to facilitate the task. The first is to configure everything related to the general properties of the game as text, message windows and the portrait of the protagonist. From this interface, it can be seen the use of horizontal and vertical bars for certain properties. In these, the values are set by filling or emptying them, for example, in the case of text speed, the fuller, the faster the text.


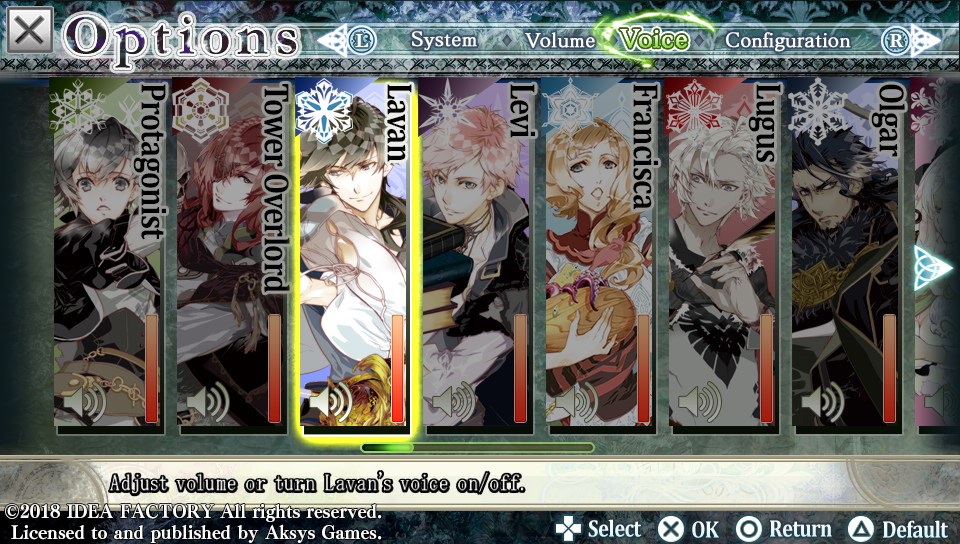
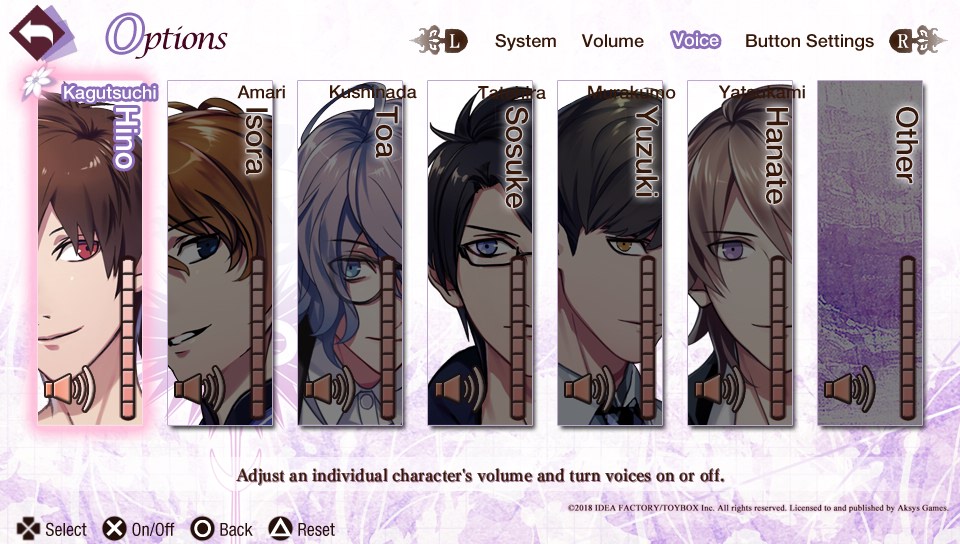
Other categories present at the “Options” or “Settings” screen are “Volume” and “Voice”. These give the opportunity to mute or control the volume of voices, effects, background music, and all other sound components. As mentioned before, the bars are also applied in a more recurring way.


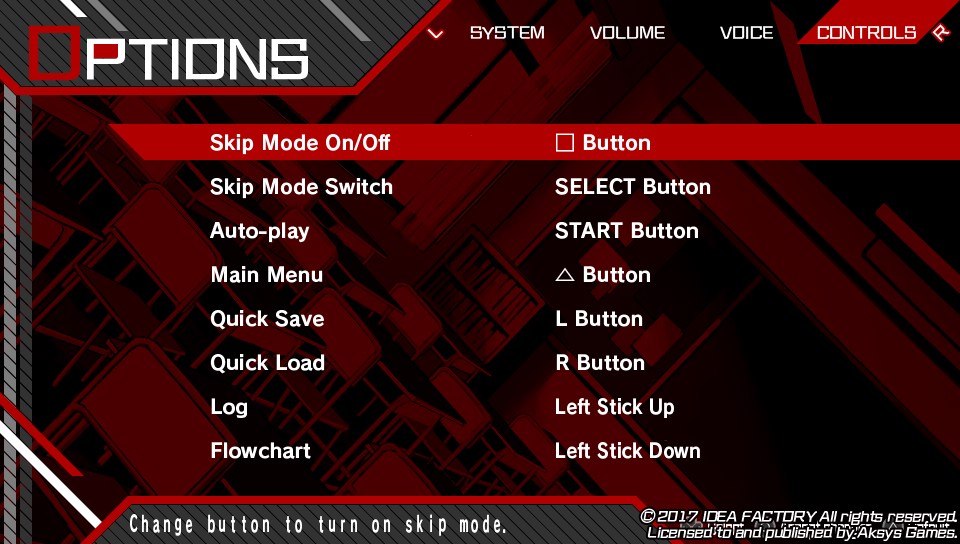
Finally, an important category is that which allows to adapt the control buttons according to the player’s needs. This is because each person is comfortable with a particular order of buttons.

So far, all the general and essential options that an otome requires have been described, so the paragraphs from here on it will discuss the options that lead to content that are considered “rewards” in this type of game.
LIST OF TERMS: TO UNDERSTAND AND LEARN
A list of terms, dictionary or glossary are not mandatory resources, but they are good as they enrich the story of a visual novel. These work even better when the narrative has specialized terminology as in “Collar X Malice”, where there are special police words, or when there are names of historical figure or places as in “Hakuoki”.
The screen of this option seeks to facilitate the search of terms by ordering them by letter, like a common dictionary, or by appearance. The interface generally has tabs to group by letter, page or chapter, which are marked with a “New” tag when the player unlocks new terms of that group. Keeping this same idea, the new words have something that differentiates from others too.

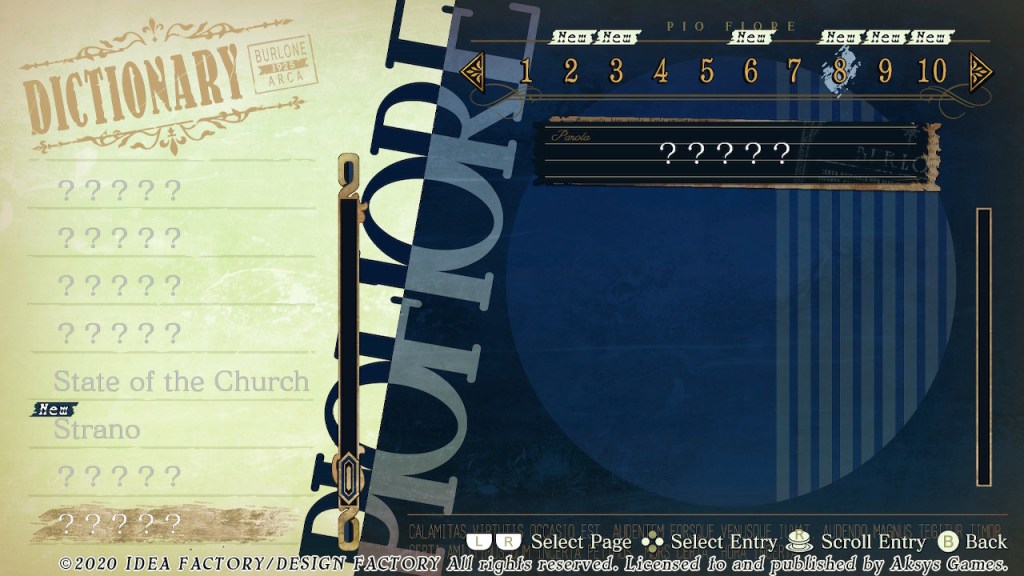

Perhaps this option is not imperative in the otomes, but having it always helps to better understand the story of the game and, why not, to learn new things.
INTERNAL MENU
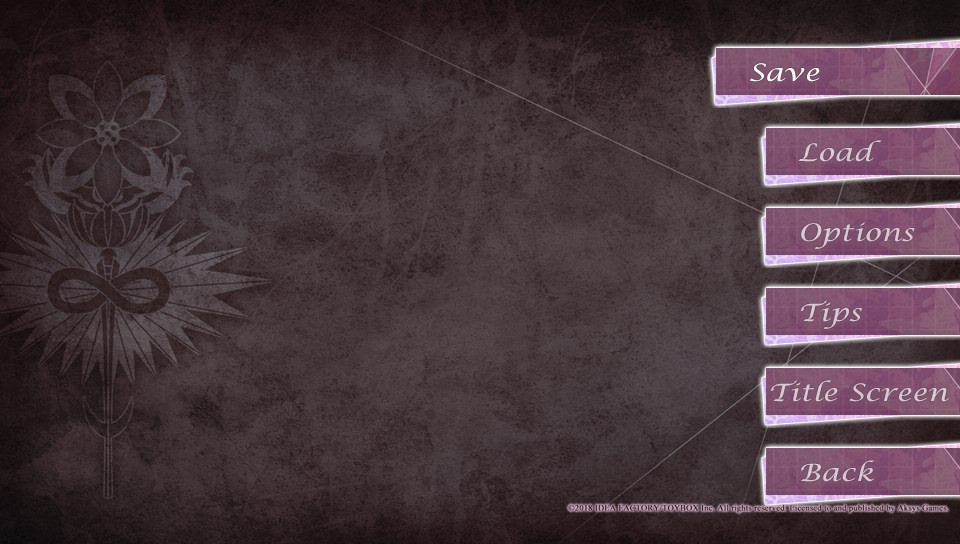
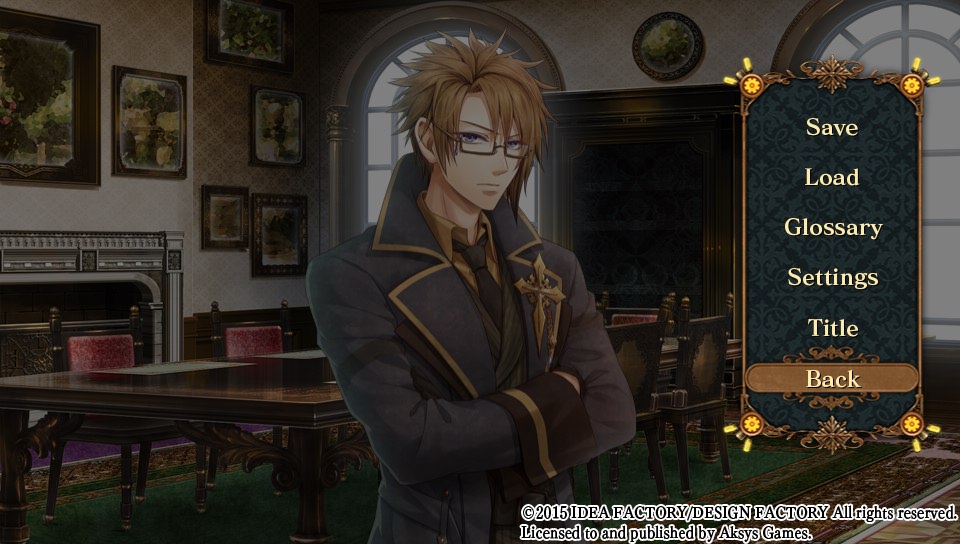
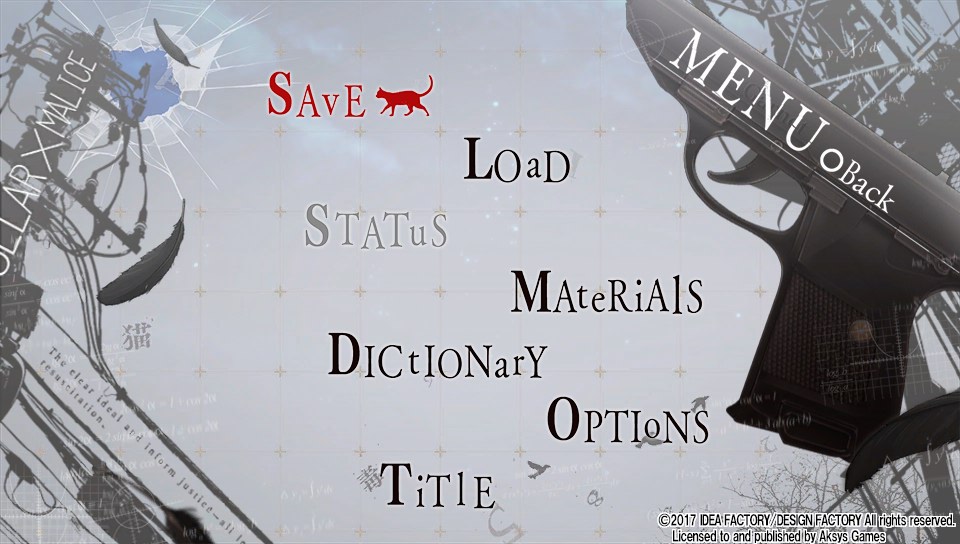
Before continuing with the rest of the options on the title screen, let’s take a short pause to explain the internal menu. This is because everything analyzed so far is content that must be available all time during the game and for that a menu always accessible is needed.
The internal menu is the one that appears by pressing some button. It maintains the “List of terms”, to be able to find a word that is not understood without having to return to the title screen; and “Settings” to make and test adjustments made to the game immediately. In addition, since the player may want to continue playing from a different saved data than the one he/she is to test other decisions or routes, the “Load” option is another one that has to be accessible at any moment and therefore, within the internal menu. But “Load” can’t exist without “Save”, so this option, which allows storing information about the player’s progress, is also found in this menu.
Finally, the two additional actions are to close the menu and return to the title screen. The last one is to access the “rewards” that are not in the internal menu to keep it simple. This does not mean that they are not important, but simply that they are not practical while already playing.

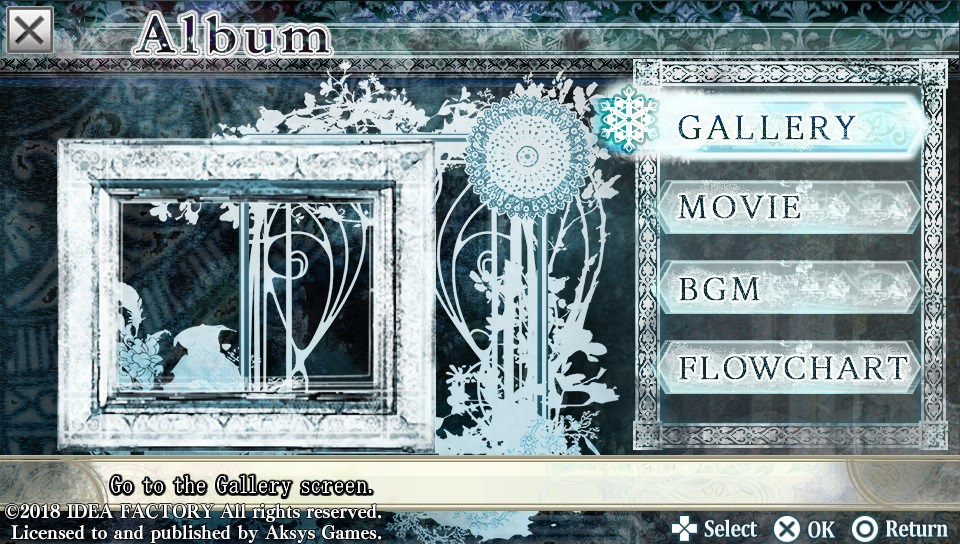
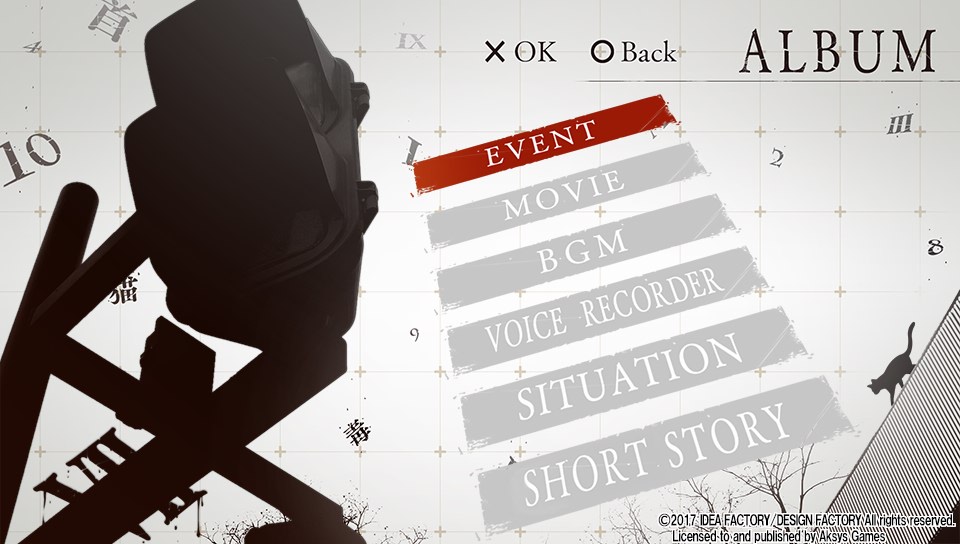
THE REWARD FOR PLAYING: THE ALBUM
What indisputably every player, not only of otomes but also of visual novels needs, is the “Album”. This displays the items that are earned as the game progresses and usually has sections for images, music, extra stories or even mini-games.

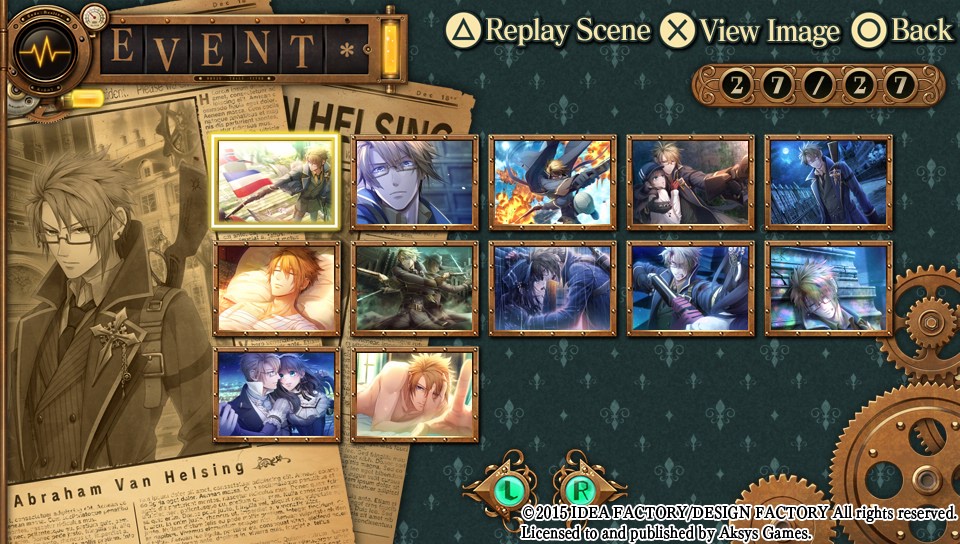
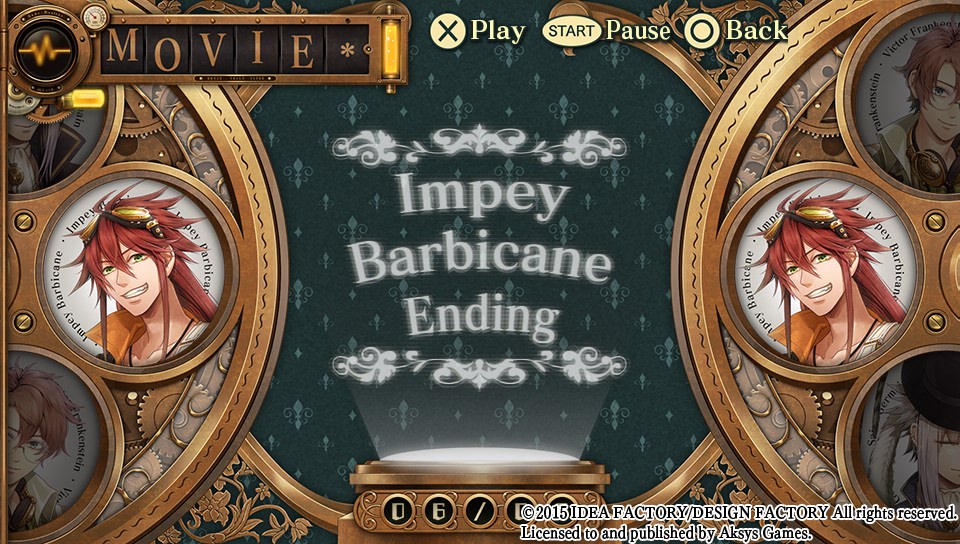
The images that are always found in these types of game are called CGs (computer graphics). They are a set of special pictures that are obtained at a certain point in the story or when the player passes certain requirements. In the otomes, these images show the love interest and sometimes the main character in a pose. These CGs most of the time are grouped according to the love interest they belong to, so that’s why the interface displays the name, photo or both of the love interest; the image gallery; and an obvious way to tell the player what to press to change page or character. Depending on the mechanics of the game, this division may or may not functional.
For example, in “Code: Realize” or “7’sCarlet”, this classification is appropriate because there is a point where the common story diverges from that of any of the routes of the eligible characters. In contrast, in “Psychedelica of the Ashen Hawk” there is no classification, only pages. This is in view of in this otome there is no marked moment in which the common story deviates, in fact, only different scenes are embedded in it according to the decisions made and, it’s until the end that there is a change according to the answers that were given during the game. This highlights the fact that an interface must be created taking into account the needs and the mechanics of the game.


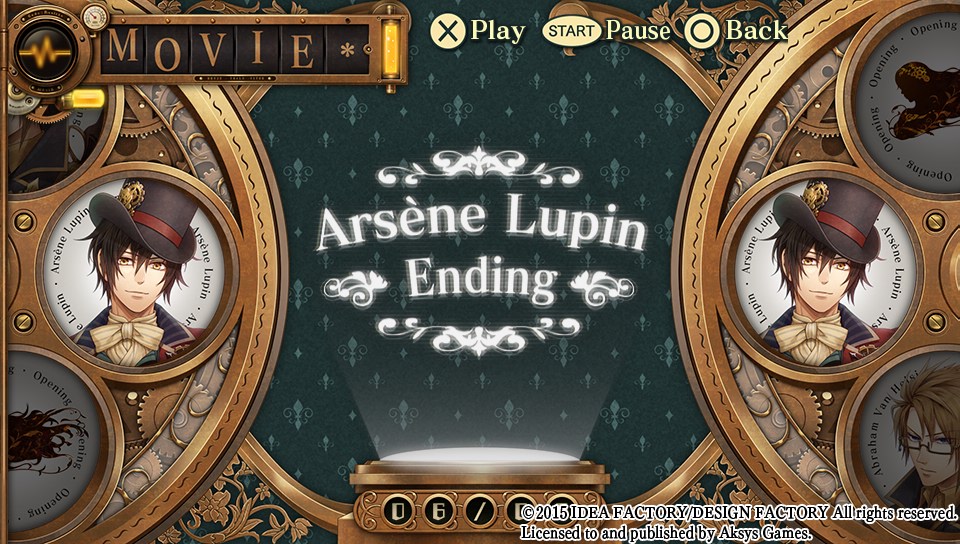
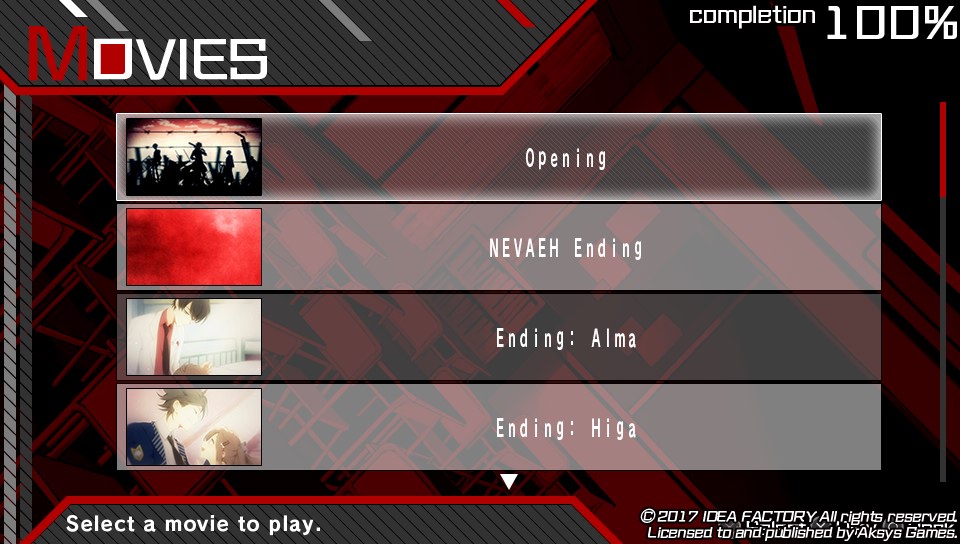
For movies, the same division can be use, use a single screen because they don’t get to be more than 6, or place them together with the CGs.

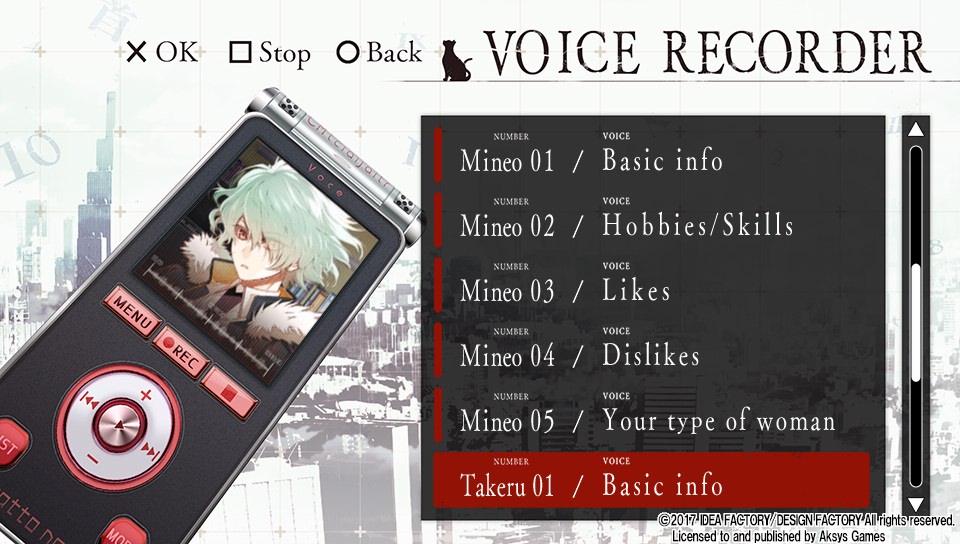
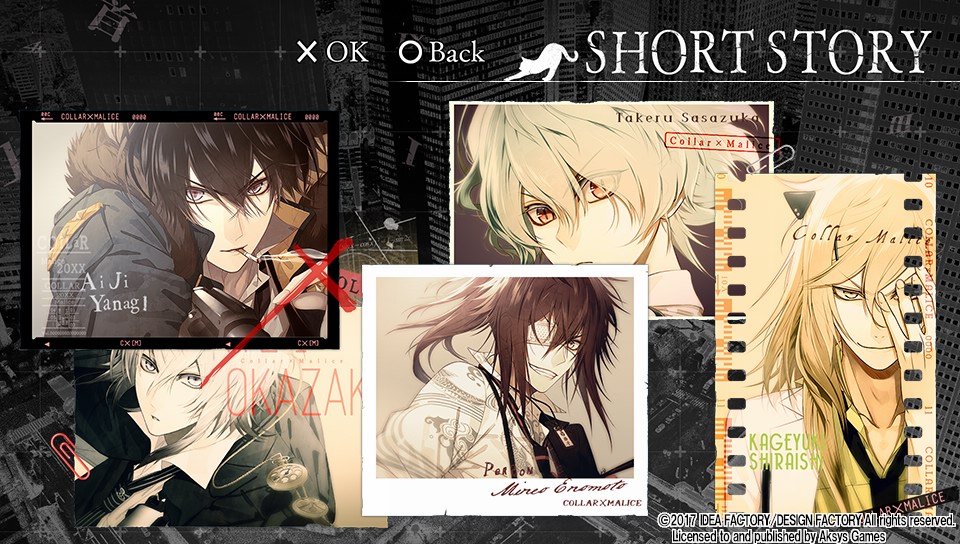
Other “rewards” can be phrases spoken in the characters’ voice, background images, background music or extra stories. Except for the interface for the phrases with voice that handle a logic similar to that of CGs, the others are simpler since only a screen with a list or with some options are presented.

An additional “reward” some otomes employ are the mini-game, however, in view of they tend to have more complex interfaces, the best is to analyze them on another occasion.
LET’S REMEMBER BEAUTIFUL MOMENTS
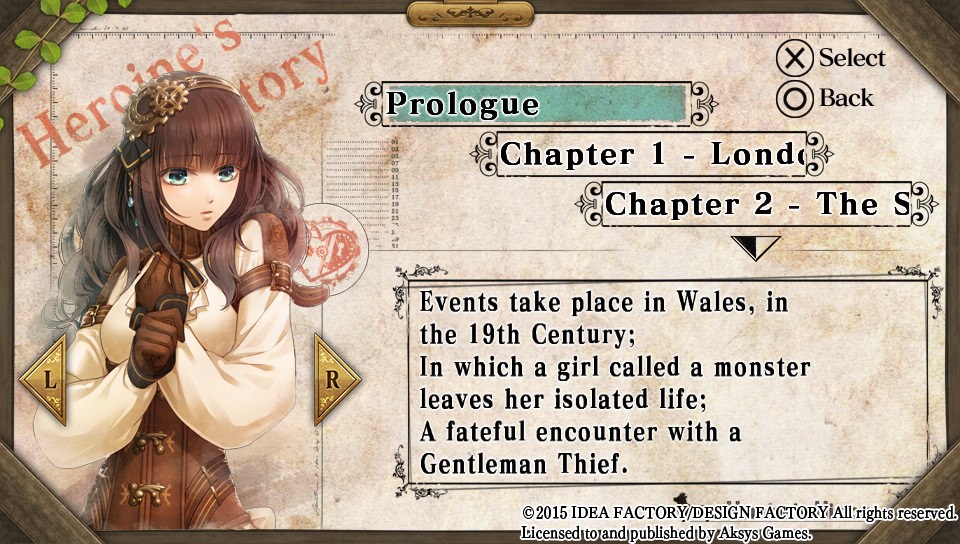
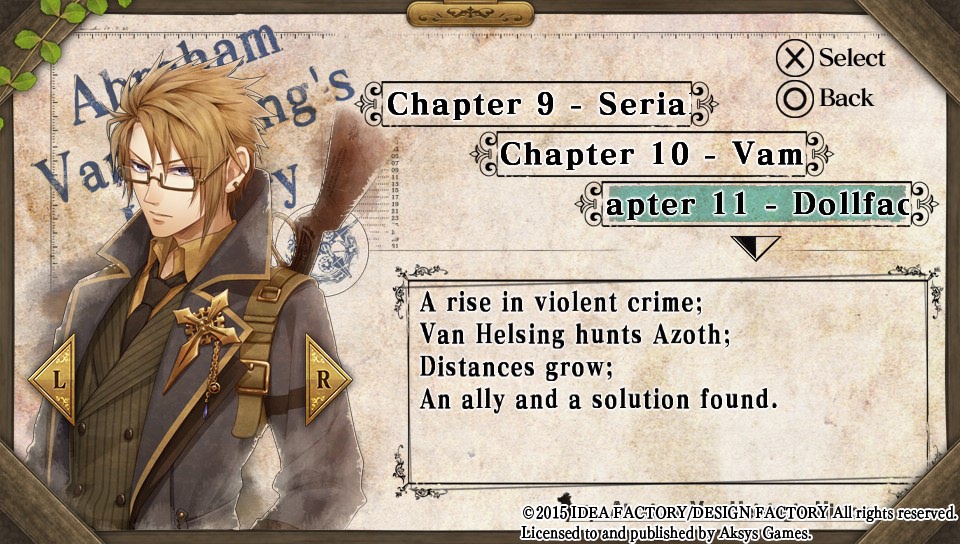
There are always fragments of a story that one loves and that’s why one wants to see or read again and again. With this in mind, the visual novels include an option that allows the player to enjoy the chapters that have already been read as many times as desired. Although this resource has another practical use for the gamers who seek to obtain all the endings of all the routes of an otome. The aforementioned option, regularly named “Memories” or “Chapters”, helps avoid the tedium of reading the same chapter or passage over and over again. The interface for this presents the list of chapters already read to give the possibility to choose one and try different decisions. When the game handles routes, the screen applies the same division as the image gallery.

AN EXTRA INTERFACE: THE LOG
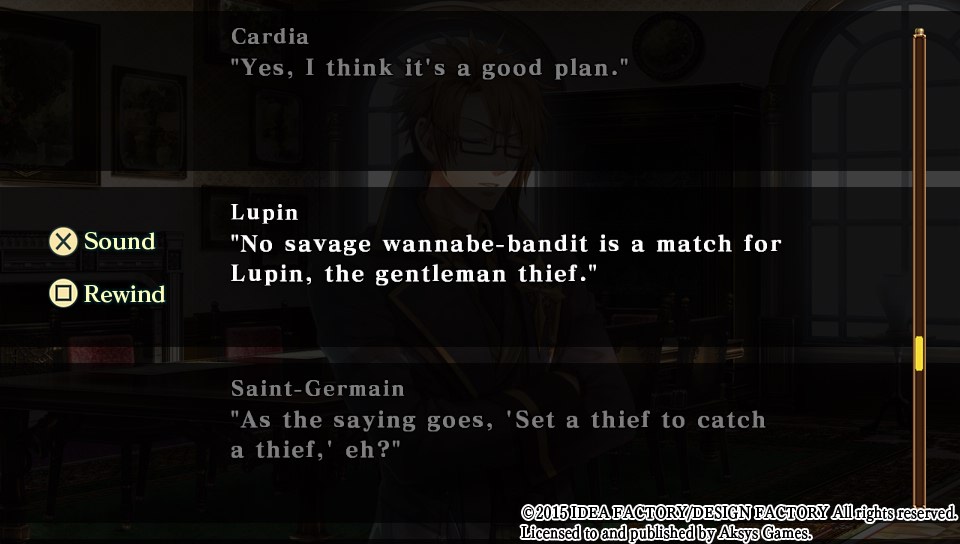
To make a decision one has to understand the context and take into account the dialogues and the situation, however, it can happen that one accidentally presses the continue button before finishing reading or simply want to reread some text to clarify the idea. For this, there is a component that, like the internal menu, is opened by pressing a button and shows all the texts and dialogues that have already happened. This component is often an interface that covers the current scene and is made up of a grid of rectangles that occupy the entire width of the screen and have a certain height. It’s common for each rectangle to have a rewind button and, in games where the characters have voices, there is a way to hear the dialogue again.


THE SMALL DETAILS CAN’T BE MISSING!
Although up to now this post has discussed the interface design, it’s also important to comment a little on those small details that appear on the screen and that serve to complement the game experience.
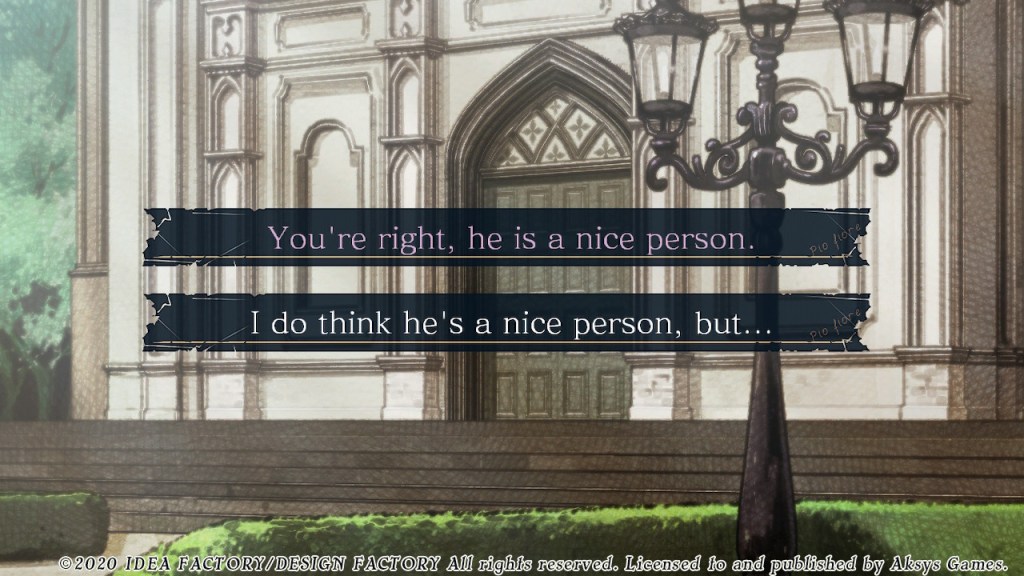
In the first place, as it has been repeated a lot in this post, the elections are an important part of the game since it is based on these that the course of the story is decided. So, apart from the cursor which is a necessary graphic element for all types of software, the otomes also employ a way to discriminate the decision already made from the non-made, making it easier for the player to experiment with various choices to achieve diverse scenes.


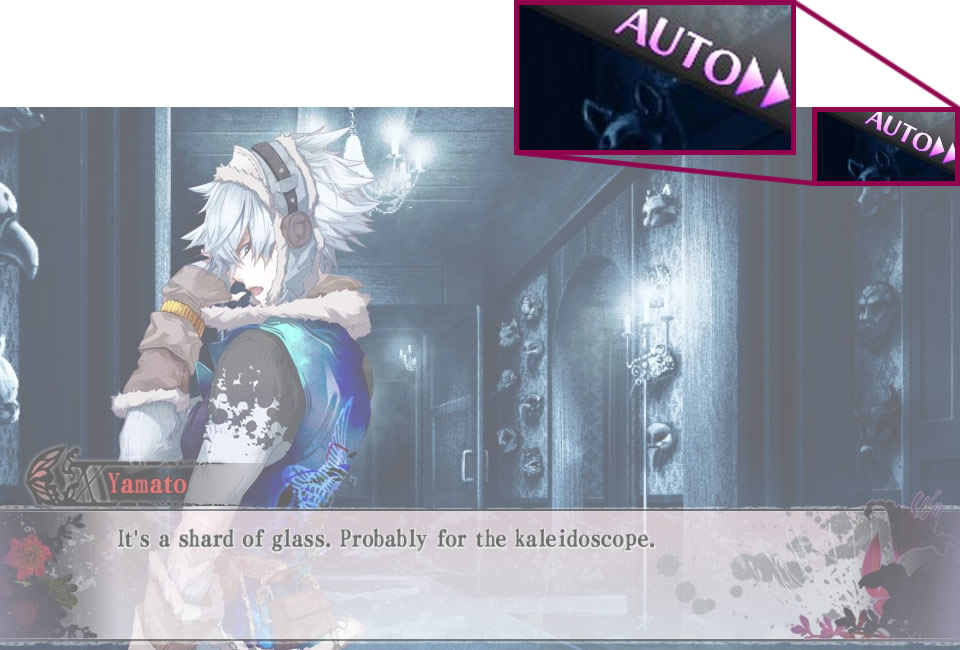
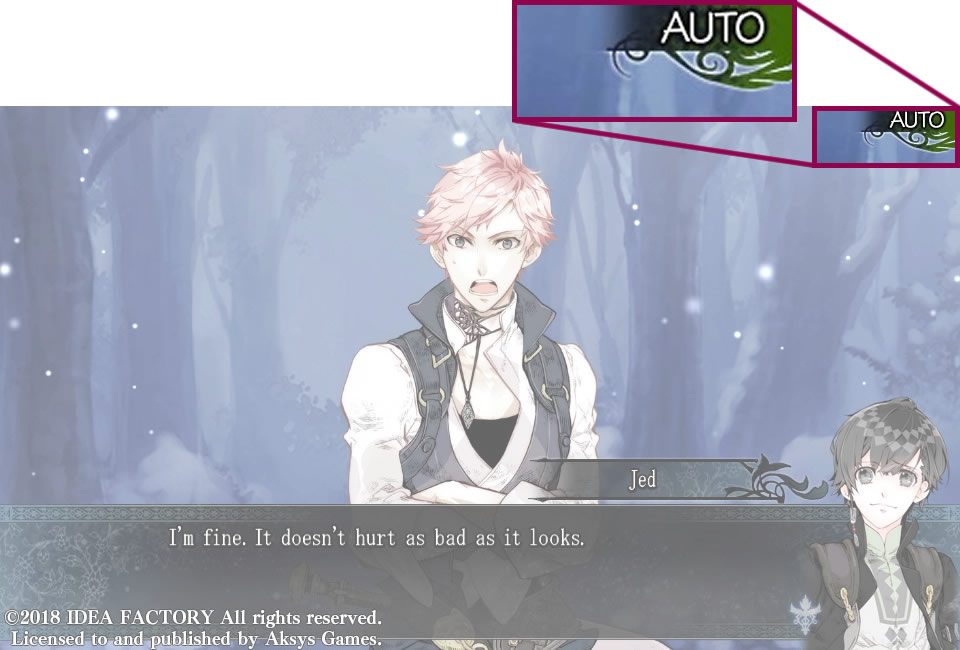
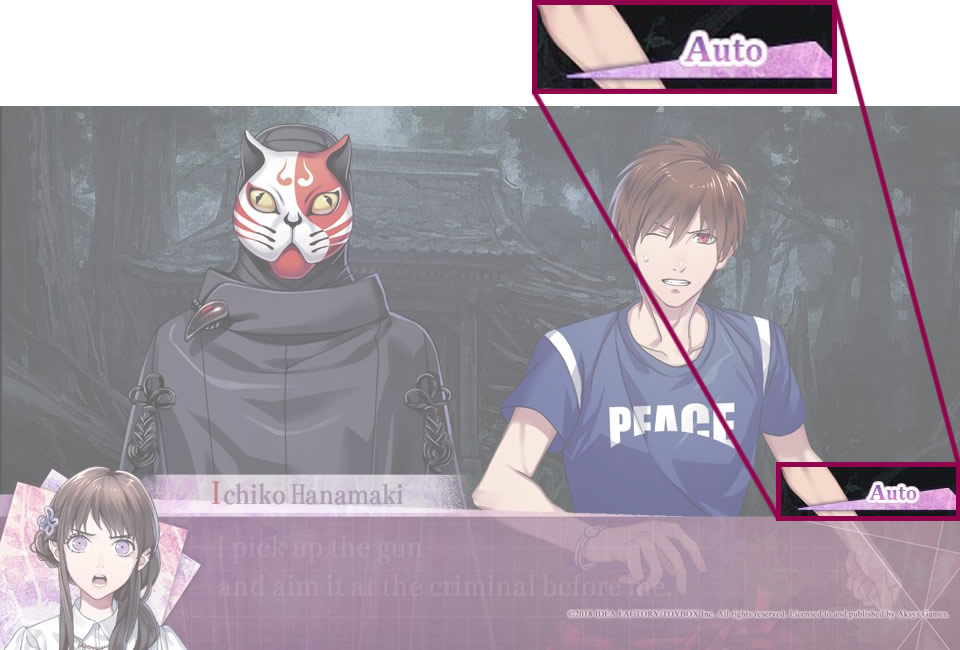
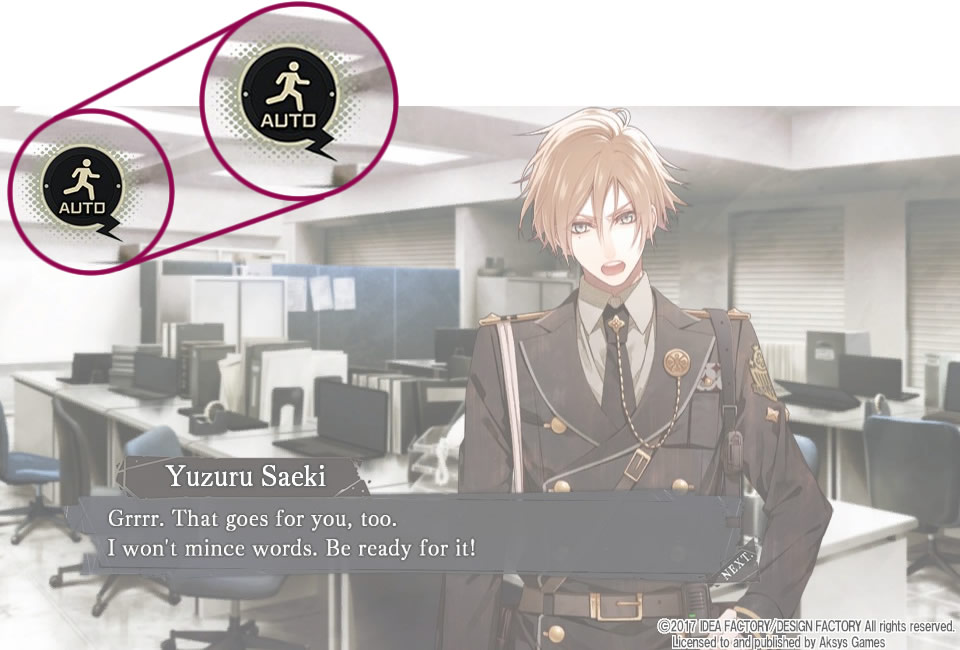
Another detail that is small but very communicative is the label that indicates how the text advance. This happens when this one is selected to auto-advance or to skip the already read. This tag seems unnecessary, but one should always take into account that the interface must always keep the user updated on what is happening to avoid possible uncertainties.


Coming to the end of this analysis, it’s observed that when creating an interface, the content, the mechanics of the game and the interaction between it and the player must be taken into account. Although the games can be of the same genre and follow a similar mechanic, the slightest differences can bring with them significant modifications to the interface. This is the reason this post is decided to only cover a certain group of otomes that are presented as visual novel and that were developed by Otomate or Idea Factory.
Well, I hope you like this post. Please comment and share what other interface elements of the games mentioned here have caught your attention to talk a little about them. But until then, see you in the next post!!!
BIBLIOGRAPHY
- “Otome game,” Wikipedia. 18-Jan-2021 [Online]. Available: https://en.wikipedia.org/w/index.php?title=Otome_game&oldid=1001075770. [Accessed: 02-Feb-2021]
- “Savepoint,” Wikipedia. 14-Jul-2019 [Online]. Available: https://en.wikipedia.org/w/index.php?title=Savepoint&oldid=906224356. [Accessed: 02-Feb-2021]
- “Slider (computing),” Wikipedia. 20-Nov-2019 [Online]. Available: https://en.wikipedia.org/w/index.php?title=Slider_(computing)&oldid=927107374. [Accessed: 02-Feb-2021]
- “Visual novel,” Wikipedia. 22-Jan-2021 [Online]. Available: https://en.wikipedia.org/w/index.php?title=Visual_novel&oldid=1001924666. [Accessed: 02-Feb-2021]
